Create Stunning Cricut Cakes With This Step-By-Step Guide
Navigate the world of Cricut cake designs and discover how to turn your baking into art—find out the secrets to stunning creations inside!
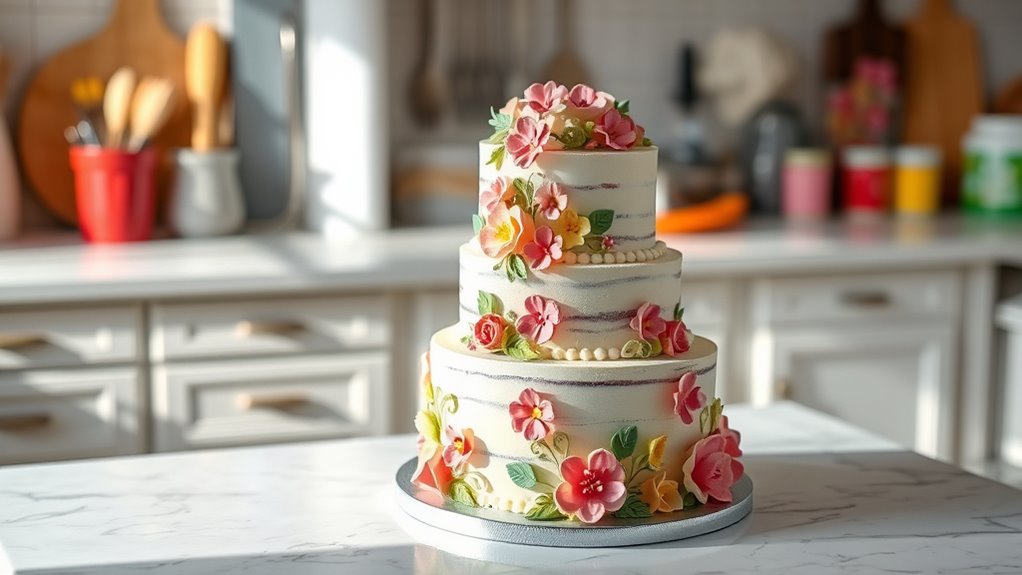
You can easily transform ordinary cakes into stunning masterpieces with your Cricut! Start by choosing materials like gum paste or fondant for clean cuts. Prepare your workspace with a pasta machine and tools ready. Roll your material to 1/8 inch thickness and cut using the Cricut. Design your toppers in Cricut Design Space, then assemble using glue or toothpicks for stability. Stick around to uncover more tips for perfecting your Cricut creations!
If you’re keen to elevate your cake decorating skills, the Cricut Cake machine is a game changer. With this clever tool, you can create intricate designs from fondant and gum paste, making your cakes stand out like never before. The Cricut Cake and Cricut Cake Mini boast cutting capabilities for mats up to 12×24 inches, allowing you to dream big with your cake designs. But before you jump into decoration mode, it’s important to understand how to use the machine effectively.
Start by choosing your materials. Gum paste is your best bet for stiffness and clean cuts. However, fondant can work too; just roll it to about 1/8 inch thick for best results. All Cricut machines can cut various types of paper, including not just cardstock but also specialty materials, allowing for versatile cake topper designs.
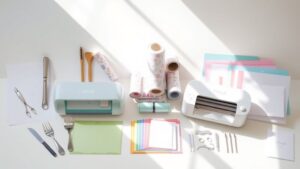
To prepare your workspace, confirm you have the right tools. A pasta machine helps with even rolling, while a brayer flattens your material nicely. Keep vegetable shortening handy to prevent sticking, and don plastic gloves to maintain hygiene.
Adding Tylose powder or CMC to your fondant can give it an extra firmness that helps during cutting. Using gumpaste helps with cutting accuracy when working on your designs, as it maintains its shape better than soft fondant.
When you’re ready to cut, roll out your gum paste or fondant to that 1/8 inch thickness on a Cricut Cake mat. Avoid air bubbles at all costs—they can lead to errors in your cutting.
Once everything’s flat and even, load the mat into the machine with the material side facing up, making sure it aligns correctly with the rollers. Setting the pressure to high will provide the best cuts, especially for stiffer materials.
If your material gets caught while cutting, don’t panic—gently guide it without forcing the machine.
Next comes the fun part: designing cake toppers! Use Cricut Design Space to create beautiful designs, choosing the right sizes and materials for your project.
For non-edible toppers, cardstock or paper works brilliantly; just attach them using glue sticks or double-sided tape.
When working with edible toppers, carefully remove the gum paste or fondant from the mat using tweezers or a spatula. To secure your toppers on the cake, use wooden dowels or toothpicks; they provide the stability needed for a striking presentation.
You can easily customize your creations by adjusting the size dial for desired dimensions, typically up to 11.5 inches for most models.
If you’re layering your designs, remember to change material settings between cuts. This is key for achieving those flawless layers you dream of!
Following the on-screen prompts for loading and unloading mats guarantees you’re working with precision and finesse.
To keep your Cricut Cake machine in tip-top shape, a little maintenance goes a long way. After each use, wipe the machine down to prevent residue from building up.
Store your cartridges and mats in a dry place, and regularly check for blade wear. When not in use, covering your machine helps protect it from dust.
With these tips, you’re all set to create stunning Cricut Cakes. Jump in, let your creativity flow, and elevate your cake designs to new heights!
Conclusion
Now that you’ve revealed the secrets to crafting stunning Cricut cakes, you’re ready to dazzle your friends like an artist showcasing a masterpiece in a grand gallery. Remember, each project is a new adventure, blending creativity with technology like a perfectly balanced recipe. You’ve got the skills, so let your imagination run wild and bring your cake dreams to life. With every slice, you’ll share not just dessert, but also your unique story. Happy crafting!