DIY Guide to Make a Simple Dispenser at Home
Create your own simple dispenser at home with just a few materials; discover the fun and creativity waiting for you in this exciting project!
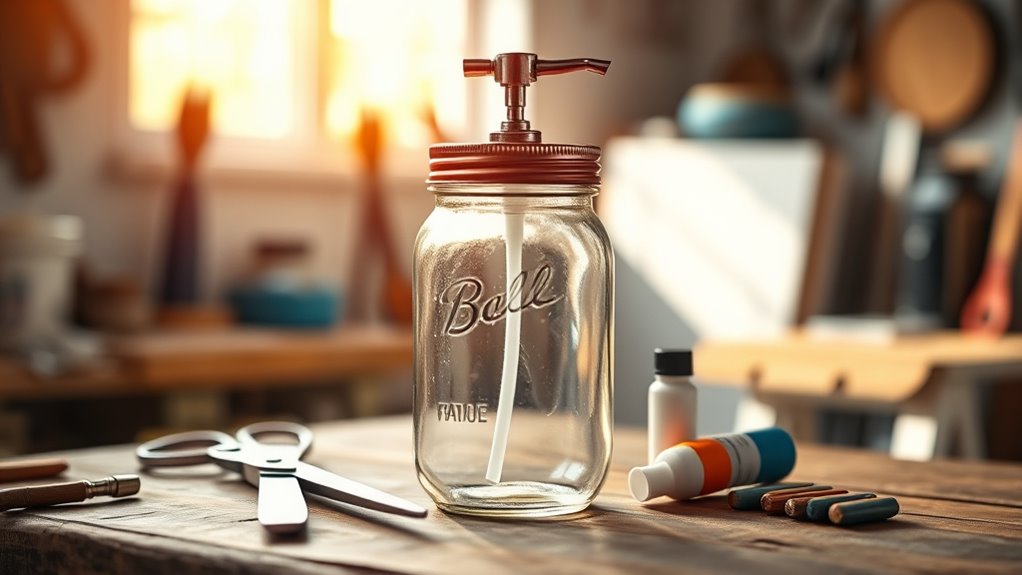
To make a simple dispenser at home, start by cutting cardboard into a base and vertical supports. Use empty plastic bottles for your water tanks, cutting holes for straws that you’ll secure with hot glue. Create a border frame for stability and efficiency. You can personalize it with paint or stickers. If you want to take it up a notch, consider adding sensors for an automatic touch. There’s plenty more to explore in this fun project!
Creating your own DIY dispenser can be a fun and rewarding project, and with just a few basic materials, you’ll be well on your way. To get started, gather cardboard, empty plastic water bottles, straws, a hot glue gun, and optional decorative items like paint, duct tape, and stickers. These supplies will allow you to construct a functional and personalized dispenser tailored to your needs.
Begin by crafting the base structure of your dispenser. Cut out cardboard squares that measure about 3 inches in length by 8 centimeters in width to form the base. For additional support, create three vertical pieces using rectangles sized at 2.5 inches by 2 inches. Assemble them with one square that’s 2.5 inches by 2.5 inches placed on top, guaranteeing you leave approximately an inch of space between the vertical supports for stability. This structure encourages crafting creativity.
Craft a sturdy base for your dispenser using cardboard squares and vertical supports for added stability.
Centering the top square over the supports guarantees that the weight is distributed evenly, providing a sturdy foundation for your dispenser.
Next, you’ll prepare the water tanks. Take your empty plastic bottles and cut holes near the bottom large enough to insert the straws. Trim the straws down to approximately 8 centimeters, making sure the bendy side faces outward through the bottle opening. Secure the straw in place with hot glue to prevent leaks, allowing it to function effectively for gravity-fed water dispensing. This step’s importance can’t be overstated, as a secure straw position guarantees that your dispenser operates smoothly.
Now, it’s time to construct the border frame. Cut a border that extends several inches beyond the stand’s dimensions, adding both stability and style. The total length of the frame should measure slightly under one foot. Include a hole for the straw to pass through, making sure it aligns with the openings of your bottles.
Use hot glue to attach the frame firmly to the base and supporting sides; a well-secured frame enhances the overall structure’s durability.
For those keen to incorporate advanced features, consider adding microcontroller units like an Arduino or ESP32 for automatic dispensing. Position proximity sensors like infrared or ultrasonic sensors to trigger dispensing cycles that will detect motion as part of the system’s automation.
Connect peristaltic pumps or servo motors to manage liquid delivery, guaranteeing you have a reliable power supply between 5V to 12V. Before activating the system, double-check your power supply connections to avoid electrical damage.
Now, let’s focus on customization. Use paint to transform the appearance of your cardboard with vibrant colors and designs. Duct tape can provide both decoration and protection to the surfaces.
Finally, stick on some fun stickers to add a personal touch. If you prefer a minimalist look, you can always leave the cardboard as is. Whatever style you choose, make sure that any materials used are food-grade if you plan on dispensing consumables.
With these steps completed, you’ve not only built a DIY dispenser but also embraced your creativity and resourcefulness. Enjoy your newly constructed dispenser, and remember to experiment as you refine your design!
Conclusion
Now that your simple dispenser is complete, picture standing in your kitchen, easily accessing snacks or essentials with just a pull of a lever. The smooth motion and tidy organization will transform your space, making it feel both functional and stylish. You’ve crafted more than just a dispenser; you’ve created a little piece of art that enhances daily life. So, embrace your creativity, and let this DIY project inspire more homemade solutions that add charm to your home!