To clean your water dispenser, first unplug it and drain the reservoir. Gather a mixture of vinegar and hot water to clean the interior, soaking removable parts in it. For the exterior, use mild dish soap and a microfiber cloth to wipe down all surfaces. Don't forget to sanitize with hydrogen peroxide, rinsing thoroughly afterward. Reattach all parts after drying, and maintain a regular cleaning schedule to guarantee hygiene. You'll discover more helpful tips ahead.
Cleaning your water dispenser isn't just a routine task; it's fundamental for your health and the longevity of the appliance. Neglecting this maintenance can lead to bacterial growth and unpleasant odors, so it's important to establish a regular cleaning schedule. You should aim to clean your dispenser every 3 to 6 months, depending on how often you use it. Manufacturers recommend sanitizing every three to six months to ensure optimal cleanliness and water quality.
Regularly cleaning your water dispenser is essential for your health and the appliance's longevity, preventing bacterial growth and unpleasant odors.
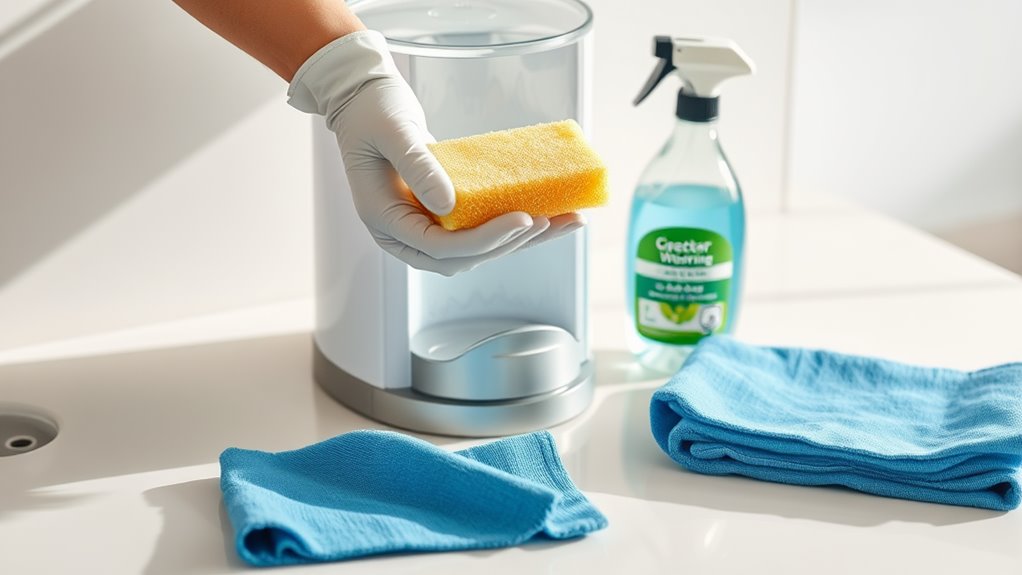
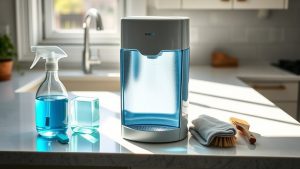
Before you start, gather your materials: a container, rubber gloves, a sponge, and dish soap. It's also wise to check the manufacturer's instructions to confirm compatibility with your cleaning solutions.
Start by draining the reservoir to prevent contamination while you clean. Unplugging the dispenser is crucial for safety, so make sure you disconnect it from the power source. Remove any accessories, such as no-spill adapters and air filters, to facilitate a thorough cleaning.
For the interior, a mixture of vinegar and hot water serves as an effective, non-toxic cleaning agent. Carefully remove components like the baffle and water guard to avoid bacterial buildup. Soak these parts in your solution to maximize cleaning power.
After letting the cleaning solution sit, drain the reservoir and rinse it thoroughly with clean water. Use a sponge or scrub pad on the reservoir surfaces to tackle any stubborn debris. Don't forget the airflow vents; dust or vacuum them to confirm unobstructed airflow and efficient performance.
Next, turn your attention to the exterior. Mix mild dish soap with warm water to clean the taps and trays. Microfiber cloths work wonders for wiping down and drying the outside surfaces. For added sanitation, a vinegar spray can disinfect without introducing harsh chemicals.
Pay particular attention to touchpoints such as taps and trays, as these often harbor germs. Once everything's dried properly, reattach the taps and trays to prevent water spots.
After cleaning, it's time to sanitize your dispenser. Hydrogen peroxide is a suitable sanitizing agent, but always follow the manufacturer's advice to avoid mixing chemicals like bleach and vinegar. Rinse thoroughly to eliminate any residue that could affect taste or pose health risks. Handle sanitizers with care to avoid skin and eye irritation.
Regular maintenance checks will keep your dispenser running efficiently, reducing the need for frequent repairs. If you have a bottleless system, it may require less manual cleaning, but don't overlook the significance of airflow maintenance.
Keeping the area around your dispenser clear of clutter will help prevent dust accumulation.
Conclusion
Cleaning your water dispenser regularly guarantees you're drinking pure, fresh water every day. By following these seven simple steps, you can maintain not just the taste but also the safety of your water. Isn't your health worth the effort? Remember, a clean dispenser not only enhances the flavor of your water but also prolongs the life of the appliance. So, don't wait—make cleaning a routine part of your home maintenance!


