How to Crochet a Water Bottle Holder in 5 Easy Steps
Craft your very own stylish water bottle holder in just five easy steps, and discover the satisfaction of handmade accessories!
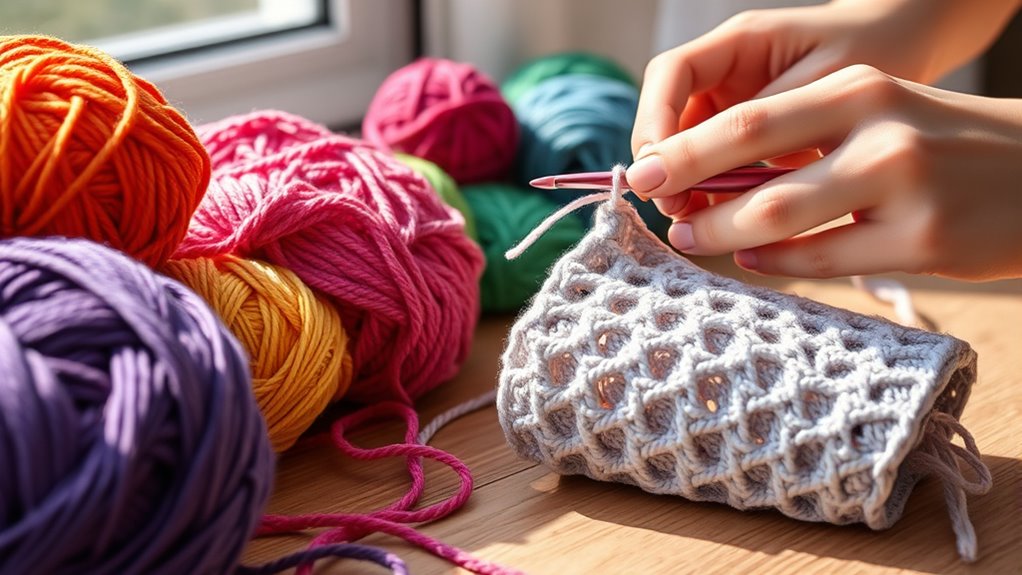
To crochet a water bottle holder in five easy steps, start with a magic ring and create a solid base. Build a circular disk by chaining and increasing stitches for a snug fit. Once the base matches the bottle size, form a cylindrical body using single or double crochet stitches. Next, crochet a comfortable carrying strap that’s 30-36 inches long. Finally, attach the strap securely to the holder and finish off with neat edges. There’s so much more to explore!
Creating the Base Foundation
To kick off your water bottle holder, begin by establishing a solid base foundation, and there are a couple of effective methods to get started. You can either create a magic ring or use a slip knot to form an adjustable loop.
If you prefer a more straightforward approach, chain 4 and join with a slip stitch to create a ring. For your first round, crochet 6 to 12 double or single crochets into that loop. Don’t forget to tighten the ring by pulling the tail after the first round. To expand your base, evenly increase stitches, remembering to maintain symmetry. Additional rounds for larger bottles will help you achieve the desired diameter while keeping your tension even and avoiding overly tight chains to guarantee a flat, sturdy base for your water bottle holder.
Building the Circular Disk
Building the circular disk for your water bottle holder is an essential step that sets the foundation for its fit and shape. Start by chaining 4 stitches with a slipknot secured on your hook, guaranteeing your stitches are loose enough for easy insertion later. Single crochet in the second chain stitch first, then the first chain stitch. As you circle around, stitch definition will sharpen by your second or third round. For increases, place two single crochet stitches in each stitch to evenly expand the disk. Use a spiral construction method, maintaining consistent hook positioning without turning, to grow your disk wider. Remember to size it against your water bottle to verify the perfect fit before moving on to the cylindrical body. This ensures you create a holder that will be eco-friendly while utilizing scrap yarn and promoting hydration practices.
Forming the Cylindrical Body
As you shift from the circular disk to shaping the cylindrical body, you’ll focus on making the water bottle holder both functional and stylish. Stop increasing stitches once the disk matches the bottle’s base circumference, then switch to one stitch per loop.
This will create height instead of width, as your work transforms from a disk into a bowl or tube. Consider using single crochet for a sturdy look, or double crochet for a more flexible, breathable holder.
Constructing the Carrying Strap
Now that you’ve crafted the sturdy cylindrical body of your water bottle holder, it’s time to focus on the carrying strap, which adds both functionality and flair.
Start by chaining a foundation row, ideally 6 stitches wide for durability and comfort. To guarantee flexibility, you can opt for double crochet stitches, while single crochet provides more sturdiness.
Measure the length between 30 to 36 inches, keeping it slightly shorter to account for yarn stretching. Work in rows, chaining one at the start of each new row, until you reach your desired length. Use back loop stitches for added texture.
Finally, fasten off, leaving a long tail for a secure attachment to the body. Your strap is almost complete!
Attaching and Finishing
Before you can bask in the glory of your finished water bottle holder, it’s essential to secure the strap properly to guarantee it holds up under pressure.
Start by turning the holder inside out and use tails of yarn to stitch the strap into the top three rows. Attach the strap at the opposite edges of the cylinder, ensuring it’s firm and secure. Don’t forget to make knots at these points to prevent the strap from pulling free.
Turn your holder inside out, stitch the strap securely, and knot it to prevent any slipping.
Next, weave in any loose yarn ends, paying special attention to the strap’s beginning and bottom middle to avoid unraveling.
Complete the finish by using three single crochet stitches in the same loop, followed by slip stitching to maintain a neat edge.
Conclusion
You’ve successfully crafted your water bottle holder! As you slip it over your shoulder, you might just bump into a friend at the park, both of you sipping water from your handmade creations. Who knew your crochet skills would lead to a spontaneous catch-up over the perfect hydration accessory? Embrace the joy of your handiwork, and remember that every stitch connects not just yarn, but moments worth sharing. Next time, consider adding a matching keychain for a complete look!